How to Harden a Conker: Baking, Vinegar and Varnish Methods Compared
Every autumn the same conversation starts on the playground and in the pub: how do you get a conker that survives more than two hits? Baking, soaking in vinegar and coating in varnish are the three methods people reach for first. Each one works, in its own way, and each one has a cost. Here is how they compare before you commit your best conker to the oven.
Start With a Good Conker, Not a Trick
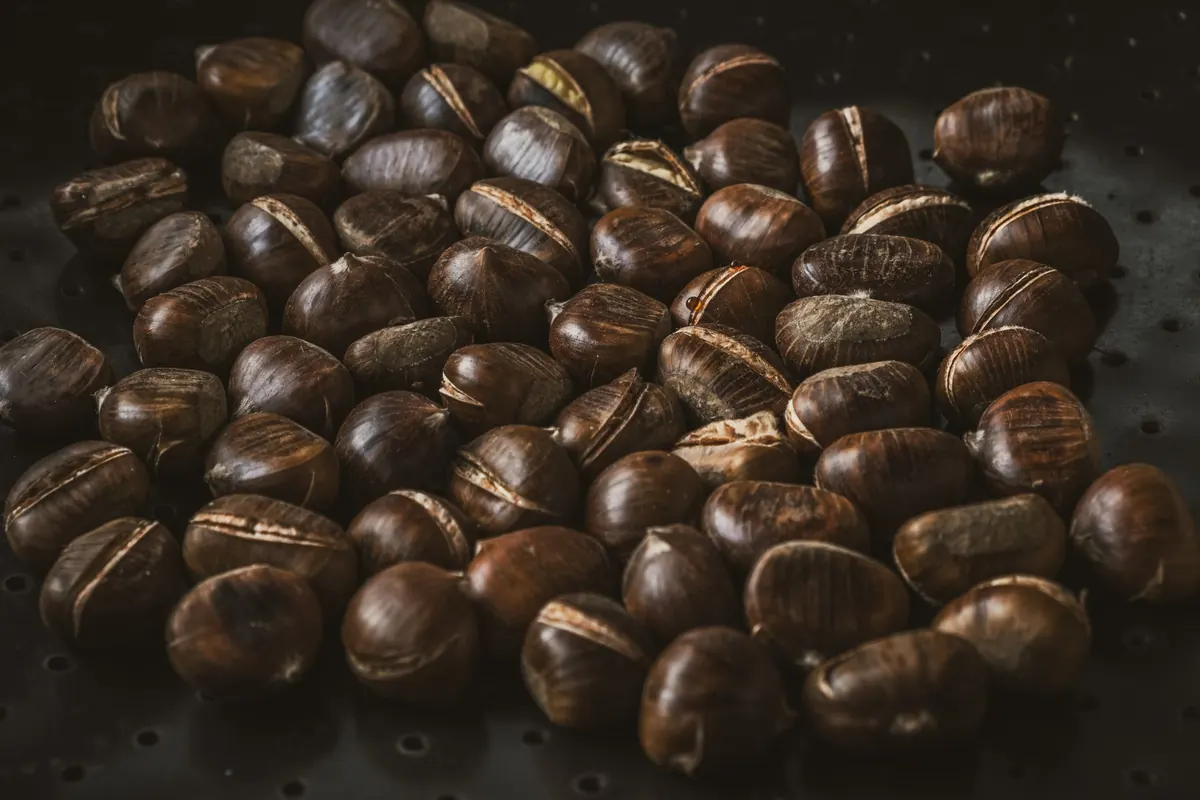
No treatment rescues a bad conker. A soft, pale, lightweight one that floats in water will stay soft however long you bake it. Before you do anything, sort your haul. Pick conkers that feel heavy for their size, with a tight, glossy shell and no hairline cracks around the edge. Leave out any with soft spots, tiny holes (that usually means a larva inside) or a dull, chalky surface. Twelve good ones beat sixty average ones.
Once you have chosen, you have a choice: play them fresh, or treat them. Fresh conkers have a slight advantage in the first week or two, because they have not yet shrunk away from the shell. Treated conkers are built for a longer season.
Baking: The Oven Method
Baking dries a conker fast, and a dry conker is a hard conker. That is the whole logic of it.
How to do it
- Heat the oven to its lowest setting — the sort of temperature you would use to dry herbs, not to roast anything.
- Put the conkers on a wire rack or a lined tray, spaced apart.
- Give them twenty to forty minutes, turning once. They should feel noticeably lighter, not hot to the touch far beyond warm.
- Turn the oven off and leave the door ajar so they cool slowly inside. Fast cooling is what cracks shells.
What goes wrong
Too much heat makes a conker brittle. It sounds hard when you tap it, then shatters on the third or fourth hit. Over-baked conkers also shrink, which opens a gap between shell and kernel, and that gap is where cracks begin. Done gently, baking gives you a decent, dry, workmanlike conker. Done carelessly, it gives you a bag of fragments.
Vinegar: Soak, Rinse, Dry Slowly
The vinegar method is usually described as softening the shell so it can then harden more deeply. Whether you believe the chemistry or not, the practical result is a conker that dries more evenly than one shoved straight into an oven.
Soak your conkers in white or malt vinegar for twelve to forty-eight hours in a covered jar. Longer is not automatically better — past two days, the shell starts to feel spongy and the surface can pit. When you take them out, rinse them well and give them a dip in water with a pinch of bicarbonate of soda to neutralise the acid. Then dry them somewhere cool and airy, out of direct sun and well away from a radiator, for one to three weeks, turning them every day or two.
The hybrid vinegar-and-bake
Many players soak first, then finish with a low bake. This is the version that produces the hardest conkers, and also the version most likely to crack later in the season. If you try it, shorten the bake — the vinegar has already done part of the drying work.
Varnish and Coatings: Shiny, Hard and Obvious
Clear varnish, nail polish, PVA glue and even hairspray all create a glassy skin that repels moisture and takes the first few impacts well. Then the coating starts to craze. Flakes come off at the strike point, and the exposed material underneath is no harder than it was before. A varnished conker that has been played for an hour looks like a chipped mug, and everyone can see exactly what you have done.
There are practical annoyances too. A varnished conker is slippery, which makes it awkward to grip and to swing; the coating can seal the string hole so the lace jams; and solvents smell strong, so work outside or in a ventilated space and follow the product instructions. Varnish is a shortcut for a friendly game, not a tournament strategy.
Oils, wax and the slow route
Linseed oil and beeswax sit between varnish and nothing at all. They slow the loss of moisture, which reduces cracking, and they harden as they cure. Applied thinly over several weeks, they give a natural-looking, reasonably tough conker. Olive oil works less well — it stays greasy and can soften the shell over time.
Head-to-Head: Durability, Cracking and Legality
- Durability: vinegar-soaked and baked conkers last longest in a long season. Varnished conkers start strong but fail suddenly once the coating splits. Air-dried conkers are the most consistent.
- Risk of cracking: highest with fast baking and with any method that dries the shell faster than the inside. Lowest with slow air drying, oiling and waxing.
- Tournament legality: most established rulebooks require a conker to be natural — no baking, no soaking, no coating, no freezing. Enforcement varies, but a glossy or oddly light conker attracts attention.
- Ease: varnish takes minutes; slow drying takes weeks; vinegar sits in the middle.
- Reversibility: none. Once a conker has been treated, you cannot put it back.
What Tournament Rules Actually Care About
The spirit of the rule is simple: the conker should be a conker. It should have been drilled and threaded, not drilled and glued, and it should not have been altered by heat, chemicals or coatings. Many organisers also insist on a fresh conker for the season rather than one carried over from last year. Check the specific rules of the event you are entering — they differ from one competition to the next, and a conker that passes at one will not necessarily pass at another.
If a method changes what the conker is made of, rather than how dry it is, expect the rules to have something to say about it.
A Sensible Routine for the Season
Keep two batches. One is your tournament batch: good conkers, cleaned, drilled, threaded and air-dried slowly for three to six weeks somewhere cool and dry, turned regularly and never left on a radiator. These are your legal, reliable players.
The second batch is your kitchen batch, for practice and for the back garden. Soak a few in vinegar for a day, rinse, dry them for a week, then finish with a gentle low bake and see how they compare. Try the same with a couple of varnished ones. Testing methods against each other on your own terms will teach you more than any rule of thumb, and it costs you nothing but a handful of conkers.
Whatever you do, write the treatment on the conker if you can — a small mark on the shell, a labelled tin — so you know which ones are which when the season gets serious. And if you are playing for a trophy, ask before you bake. Nobody minds losing to a better conker. Everybody minds losing to an oven.
Photo: rawpixel / Pixabay