How to Drill and Thread a Conker Without Splitting It
Every autumn, a conker that looked unbeatable cracks on the first swing — and it is almost never the opponent's doing. Splits start at the hole. A blunt nail, a rushed drill bit or a knot jammed tight against the shell will open a hairline crack that spreads the moment the string goes taut. Get the hole and the knot right, and the conker will take far more punishment than you expect.
Why conkers split, and why fresh ones drill cleanly
A conker is a thin, brittle shell wrapped around a starchy kernel. Push a blunt object into it and the force spreads sideways instead of downwards, following the shell's weakest line — usually the edge of the pale flattened patch where the conker sat in its husk. That patch, the hilum, is also the best place to aim, because it is slightly thinner and more forgiving than the rest of the shell.
Timing matters as much as technique. Conkers shrink as they dry. A hole made while the conker is still fairly fresh stays snug around the string weeks later, once the kernel has contracted. A hole forced through a rock-hard conker left over from last October tends to flake at the rim and crack under the first decent swing. The sweet spot is roughly a few days to a fortnight after they fall, when the shell has firmed but not turned glassy.
Ignore the old hardening tricks. Baking a conker in an oven dries it unevenly and often splits it in the tin; soaking in vinegar softens the shell, then leaves it brittle once dry. A cool, airy room and a bit of patience do a better job than either.
Choosing and preparing the conker
- No blemishes. Check the pale patch for hairline cracks and look for tiny round boreholes, which mean a grub got there first.
- Heavy for its size. A dense conker resists impact; a light, hollow-feeling one is already losing its kernel.
- Firm, faintly shiny shell rather than dull and wrinkled.
- Store it properly. A paper bag or an open tin in a dry room. A sealed plastic box traps moisture and grows mould.
Wipe off the mud, let it dry at room temperature, and don't put it on a radiator to speed things up. Sudden heat is what makes shells crack before you've even found your drill.
What to have on the table
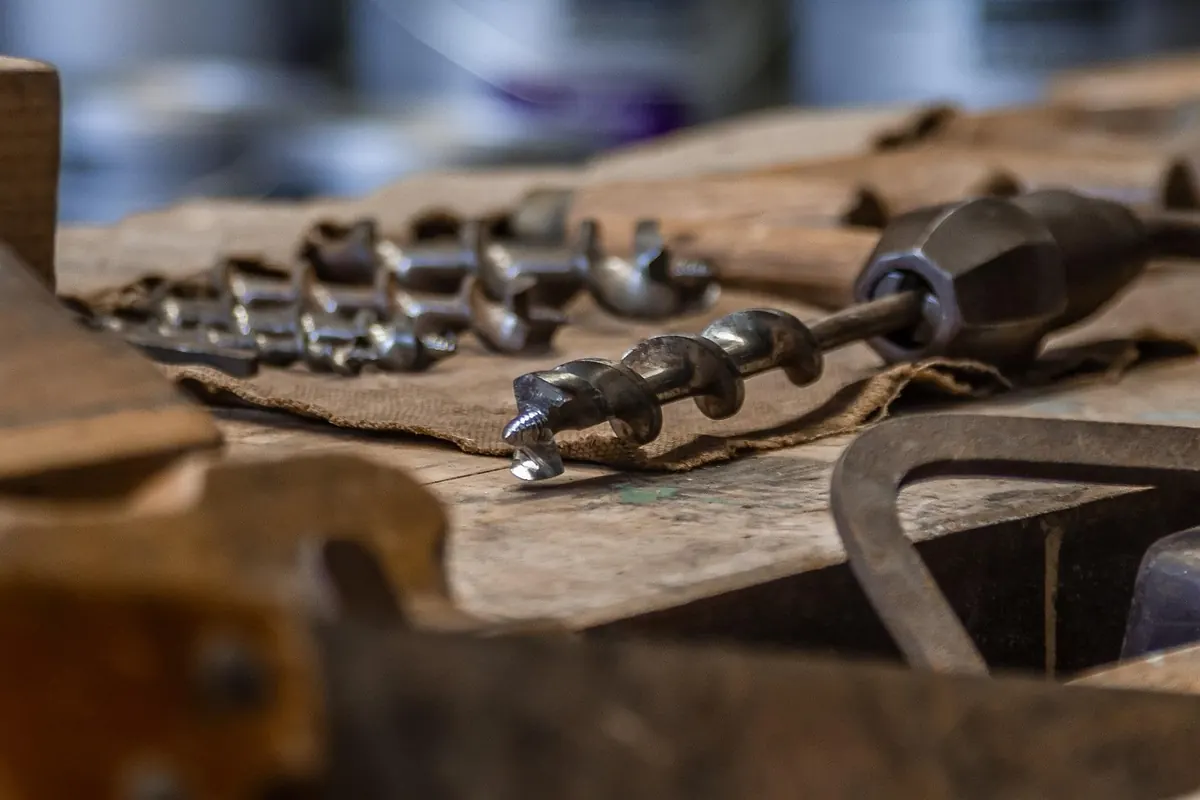
- A 3 mm twist bit in a hand drill, a cordless drill or a pin vice. A bradawl works too.
- A padded vice, or a folded tea towel and a steady hand.
- 2–3 mm nylon cord or a strong shoelace. Cotton thread chafes and snaps.
- A small bead or metal washer, plus a needle, a loop of fine wire or a length of dental floss for threading.
Drilling: slow, straight, one pass
- Mark the centre of the pale patch with a fingernail. Aim to enter there and come out at the base, straight through the conker's natural axis.
- Cushion the conker. A folded cloth on a table, or a gloved hand, stops it spinning and takes the pressure off the shell.
- Run the drill slowly and let the bit cut. Light pressure, high speed is how shells shatter; low speed with a sharp bit is how they stay whole.
- Withdraw the bit every few millimetres to clear the dust. If it starts to bind, back it out rather than forcing it.
- If the hole stalls halfway, turn the conker over and finish from the other side. Meeting in the middle reduces the splintering you get where the bit exits.
- Blow the dust out and check the hole is clear with a spare bit of wire.
Drilling by hand
Without a drill, use a bradawl or a thick, sharp needle and twist it through, a millimetre at a time. Never hammer a nail through a conker — that is the single fastest way to split one, and it happens before you've tied a single knot.
The knot that holds
Thread the cord through, then tie a stopper knot beneath the conker: a figure-eight or a double overhand, pulled tight. Then thread a small bead or washer onto the cord so it sits between the knot and the shell. This is the detail most people skip, and it matters. A knot pressed flat against the underside concentrates all the swinging force on one spot at the rim of the hole. A bead spreads that load and gives the shell room to move.
Leave a gap of three to five millimetres between the bead and the conker, and trim the tail. If you're using synthetic cord, briefly pass the cut end near a flame to seal it — in a well-ventilated spot, and nowhere near your fingers.
Threading without fraying
Stiffen a frayed cord end with a wrap of sticky tape, or fold a length of dental floss through the hole, loop it around the cord and pull it back through. A large-eyed needle does the same job. At the top end, tie a loop big enough to slide over two knuckles — too small and it digs in, too big and the conker flies off mid-swing.
Mistakes that cost you a conker
- Drilling through the side rather than the axis.
- A blunt bit, or a drill run flat out.
- A knot tied flush against the shell with no bead.
- Thin cotton or old parcel string that rubs through at the hole.
- Working on a conker that's already cracked at the pale patch. Retire it.
- Rushing the last millimetre, when the bit is about to break through.
Before the first challenge: a thirty-second check
Hang the conker from your finger and give it a gentle swing. The string should slide freely through the hole, the bead should sit clear of the shell, and the knot should hold when you tug it firmly. If the string has bitten into the hole or the shell has started to lift around the rim, re-thread with a fresh bead rather than hoping for the best.
Keep conkers in a dry tin between games, replace the string when it looks fuzzy, and wear a glove if you're playing hard — knuckles take more damage than conkers do. One last thing worth knowing: horse chestnuts are not sweet chestnuts. They're mildly toxic if eaten, so keep them away from toddlers and dogs. Everything else about a good conker is just patience, a sharp bit and a bead.