Conker Season Checklist: Harvesting, Drying and Storing Your Nuts
The first conker of the season is almost always a disappointment. It is pale, it gives slightly under your thumb, and it still has half a spiky husk attached to it. Wait a fortnight and the same tree will be dropping nuts that are dark, heavy and glassy in the hand — the ones you actually want in your pocket on match morning. The difference between a conker that lasts until Christmas and one that grows a fur coat in a shoebox comes down to three habits: picking at the right moment, drying slowly, and storing them somewhere that breathes.
Know Your Season: What Happens Each Month
Conker season is not a single weekend. It is a slow roll from late summer into autumn, and the quality of what you find changes week by week. In most of the UK the main drop runs from mid-September into early October, but a warm, dry September can push it forward and a cold, wet one can hold it back by a fortnight. Watch your local trees rather than the calendar.
- Late August: Husks are still green and tight. Anything on the ground is usually pale, soft and full of water — it will wrinkle badly in storage. Look, don't collect.
- Early to mid-September: The good window opens. Husks split and drop, often after a windy night. This is where your best conkers come from.
- Late September to mid-October: Still strong, but wetter weather raises the mould risk. Check your drying trays daily rather than every few days.
- Late October onwards: Later trees can still produce decent nuts, but ground conkers are more likely to be dull, holed or already rotting. Good time to scout trees for next year.
Picking Day: What to Take and What to Leave Behind
Go out after a dry spell, ideally the morning after a windy night when the ripe ones have been knocked down for you. Take a cloth bag, a shallow cardboard box or a basket — something with airflow. A sealed plastic tub is the single most common reason a promising batch goes soft within a week.
- Wear gloves if you are handling split husks; the spikes are sharper than they look.
- Pick up only fallen conkers. If it is still in a green husk, leave it — it is not finished yet.
- Collect within a day or two of the drop. Conkers sitting on damp grass absorb moisture fast.
- Do not shake branches or climb. It damages the tree, and parks and public gardens usually have rules about it.
- Leave the small, pale and misshapen ones. You are not short of choice in a good September.
Choosing Conkers Worth Keeping
Sorting at the tree saves you work later. Turn each conker over in your hand and be ruthless — a single bad one can spread mould across a whole tray.
- Weight: it should feel heavier than its size suggests.
- Firmness: press it with your thumb. Any give at all, put it back.
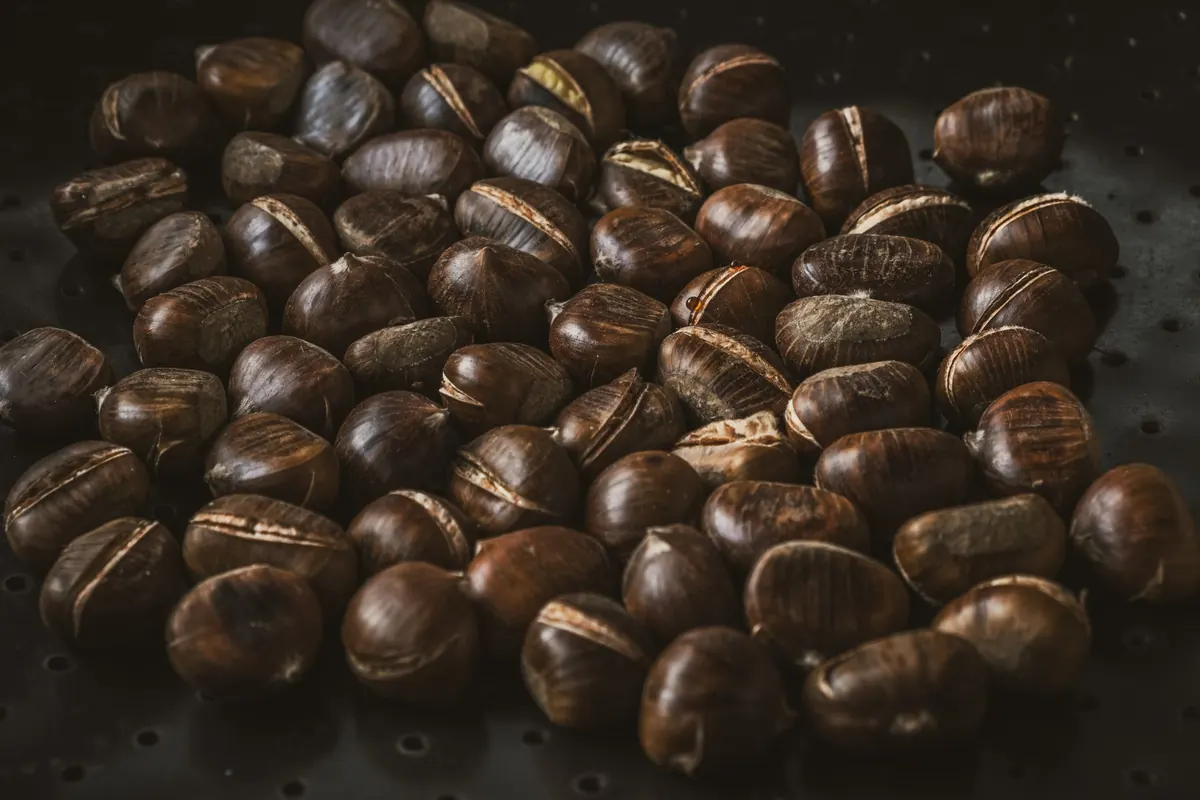
- Surface: glossy mahogany is what you want. Dull grey-brown usually means it has been lying out for days.
- Holes: a neat round puncture means a weevil has left, and the inside is hollow. Bin it.
- The scar: the pale patch where it attached to the husk should be dry, not weeping or sticky.
- Smell: fresh conkers smell faintly of bark. Anything sour or earthy is already turning.
One safety note worth repeating: horse chestnuts are not edible. Keep them out of reach of children who might treat them as snacks, and away from dogs, for whom they are genuinely harmful.
Drying Them Slowly Beats Drying Them Fast
This is the stage people rush, and it is the stage that decides everything. A conker is a seed with a hard shell around a moist kernel. Take that moisture out too quickly and the shell cracks or the kernel shrinks away and rattles.
- Spread them in a single layer, not touching, on newspaper or a mesh tray. An old cardboard fruit tray works well.
- Put them in a dry, airy room at normal household temperature, out of direct sun.
- Turn them every day or two and replace any newspaper that feels damp.
- Expect two to four weeks, longer in a humid autumn. They are ready when the surface feels dry and the conker has lost a little of its shine but gained a hard, almost polished feel.
- Check daily and remove any that develop soft patches or a furry bloom immediately.
Keep them away from radiators, ovens, microwaves and hair dryers. Every one of those will harden the outside and ruin the inside, and you will not find out until the first hit.
Pick for firmness, dry with patience, store with air. Those three habits beat any trick.
Storing Through Winter Without Mould
Once dried, conkers want the same conditions as onions: cool, dark, dry and ventilated. A cupboard in an unheated room, a garage shelf or a shed that does not leak will all do the job.
- Use paper bags, cardboard boxes, wooden boxes or a woven basket. Never a sealed plastic container.
- Punch a few holes in a box lid if it fits snugly, and do not stack them more than two deep.
- Check weekly for the first month, then monthly. Remove anything soft, dull or fuzzy straight away.
- Keep your best five or six in a separate small box so you always have match-quality conkers untouched.
- Skip the fridge. It is damp, and the condensation when you take them out undoes the drying you worked for.
The Hardening Question: Vinegar, Ovens and Rules
Old handbooks suggest soaking conkers in vinegar, coating them in oil or clear nail varnish, or baking them to drive out moisture. Baking does harden a conker quickly, but it also shrinks and cracks the shell and leaves it brittle. Vinegar soaks smell for weeks and give inconsistent results. More importantly, many organised competitions ban artificially hardened conkers and inspect them on the day. If you are playing in a league or a charity tournament, read the rules before you commit a good batch. For a friendly game in the park, slow air-drying is the safest and most reliable route.
Final Checks Before Match Day
A week before you play, tip your box out and look at every conker properly. Hold each one up to the light and check for hairline cracks, especially around the pale scar — that is where they fail first. Weigh two or three in your hand and pick the heaviest that still feels solid. Take three or four to a match rather than one, and after a hard game put the survivors back in a dry box instead of a damp coat pocket. Finally, make a note of which tree gave you the best nuts this year. Come next September, that is the tree worth walking to first.
Photo: Ilo Frey / Pexels